 Help Center
Do you struggle with users not filling your fields in forms? Here we come. With validation, you can make sure that any form field is filled (or empty) before the user proceeds to the next step. Validation allows a topic to continue only if a form field has a specific value. You can also set up some more advanced conditions such as matches if you want your users to provide, e.g. a particular word in the text field.
Validation is available to Standard PRO and Enterprise Plans.
In this article, we'll describe how to use the Validation panel.
Opening the Validation panel
The Validation panel appears in the Authoring Tool when you create and edit steps of your walkthroughs and tooltips. In this article, we will start at this point and won't include the instruction on building a walkthrough or a tooltip as such. To learn how to create a walkthrough, please check this article and to learn how to create a tooltip, go here.
To open the Validation panel:
- In the Authoring tool, while you're editing or adding a walkthrough or a tooltip, select a step from a list of steps or click * "+"* to create a new one.
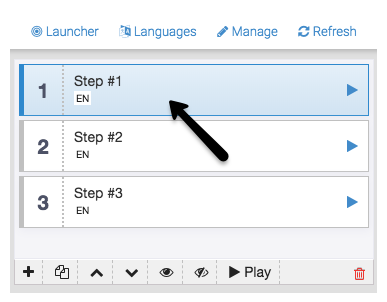
- Scroll down to the Validation panel and expand the tab. Now, you see the Validation panel.
Functionalities of the Validation panel
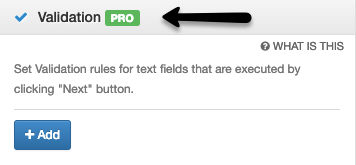
With the Validation panel, you can set validation rules for text fields executed by clicking Next button.
Let's start with explaining building blocks of validation. Validation is made of the following parts:
- An element - you can assign the element for which you want to apply the validation. You can select any form field.
- A condition - indicates what values the field should or shouldn't have for the topic to move to the next step.
Adding a validation:
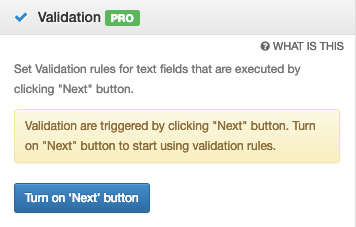
You can only use the Validation option when using the Next button as a trigger. When you have validation rules and are trying to add a trigger, you will get this message:

If the next button is not set, you will see a message that you need to turn on the Next button first.
To add a validation:
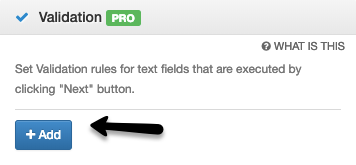
- Click + Add button.
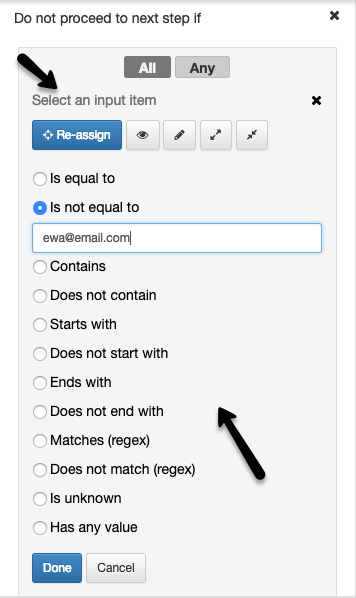
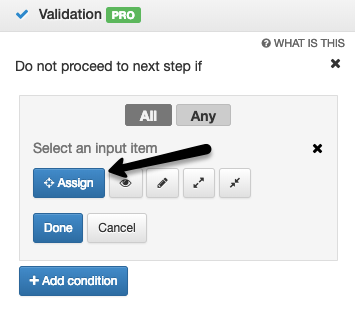
- Click Assign button and select a field for which you want to apply the validation. The Authoring tool will select the most specific combination of CSS selectors, and the default option is usually the best. However, to manually set the selector, click the pencil icon to edit.
- Choose the desired condition to check before proceeding to next step. Confirm with the Done button.
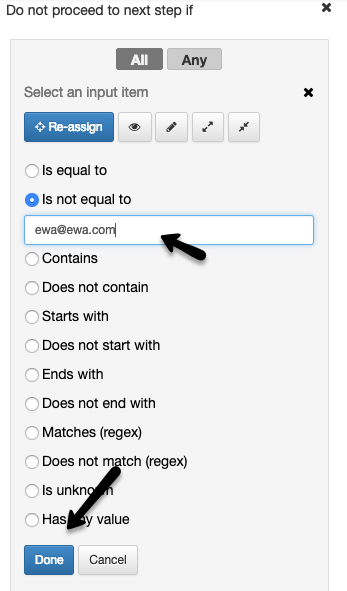
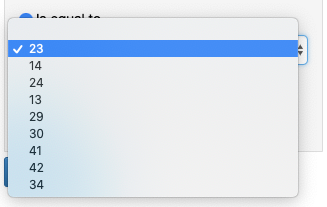
Please note that if you assign a select box, you will choose values (each select option has a value and the text that represents it). In the Authoring tool, you will see just values.
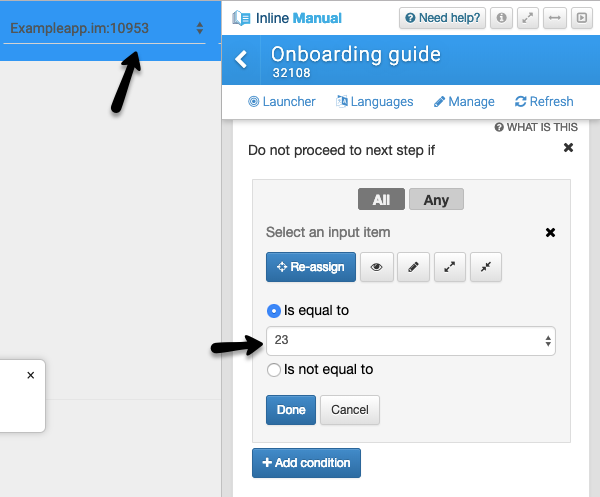
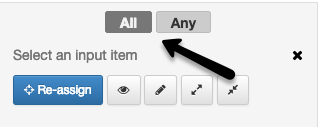
- You can add multiple conditions to the step. If so, you can specify if all of them has to be met or any.
When to use validation
You can use validation whenever you want to be sure that a field is empty/filled before the users proceed to the next step. When the validation rule isn't followed, the pop-over will shake.